As we close the chapter on Winter and enter Spring, delicious and nourishing comfort food continues to make an occasional appearance on the menu. In light of this, let’s add one more nutritious recipe to this section of the toolbox before we transition. And because I have a special place in my heart for food assembly parties (pizza, tacos, burgers, salads…) why not start a new perogy party tradition?! Hey, don’t dis it til’ you’ve tried it friends.
Because perogies make for a great quick & nutritious meal base to store in your freezer to enjoy on busy days, this recipe is quite large. My intent is for you to create some planned leftovers that you’ll be really looking forward to digging into. I know for me personally, a sigh of relief generally comes when I recall that I froze a few batches of extra food made the previous week(s). While making extra does take a little extra time and effort, I truly feel that the results are worth it. And in the pursuit of creating some planned leftovers (for yourselves as well as for your loved ones), the most fun approach is to invite a couple of friends over for a perogy making party. After this food-centric gathering, everyone can home a batch for the freezer, and it’s a great time! This would be a very fun and meal prep friendly Easter Weekend activity to embrace.
Highlights of making this recipe:
- This recipe contains many ingredients you likely already have in your kitchen and the extra ingredients that you may need to purchase are typically easy to find and inexpensive.
- While the initial perogy prep does take some time and effort, the planned leftovers you create will surely be welcome additions to your freezer to facilitate those 5 minute lunch and dinners.
- Perogy assembly can be a surprisingly fun and engaging activity for the whole family to enjoy – especially if your friends and family make their own special fillings to use (see tip below*).
- Perogies are an undeniably delicious comfort food – but I’d be hard pressed to find a whole wheat high protein variety in the grocery store. So let’s make our own!
*Of note, I usually use several different spice additions (including turmeric and onion powder), after making this recipe as written, I encourage you to play around with some of your favourite things (or if you have guests, encourage them to) – there aren’t many flavours that don’t work in this recipe! Interested to learn more about the incredible health benefits of these flavouring agents? I encourage you to check out my blog on the topic!
Macros per Perogy
Calories: 57
Protein: 4 g
Fat: 2 g
Carbohydrates: 7 g
Sugar: 1 g
Fibre: 1 g
Caramelized Onion and Sweet Potato Perogies
Ingredients
Dough
- 1 1/4 cup 100% whole wheat flour
- 1 cup soy flour I use Bob’s Red Mill
- 1 tsp fine sea salt
- 1 cup low fat plain yogurt I use 1%
- 1 large egg
- 1/2 tbsp water more as needed
Filling
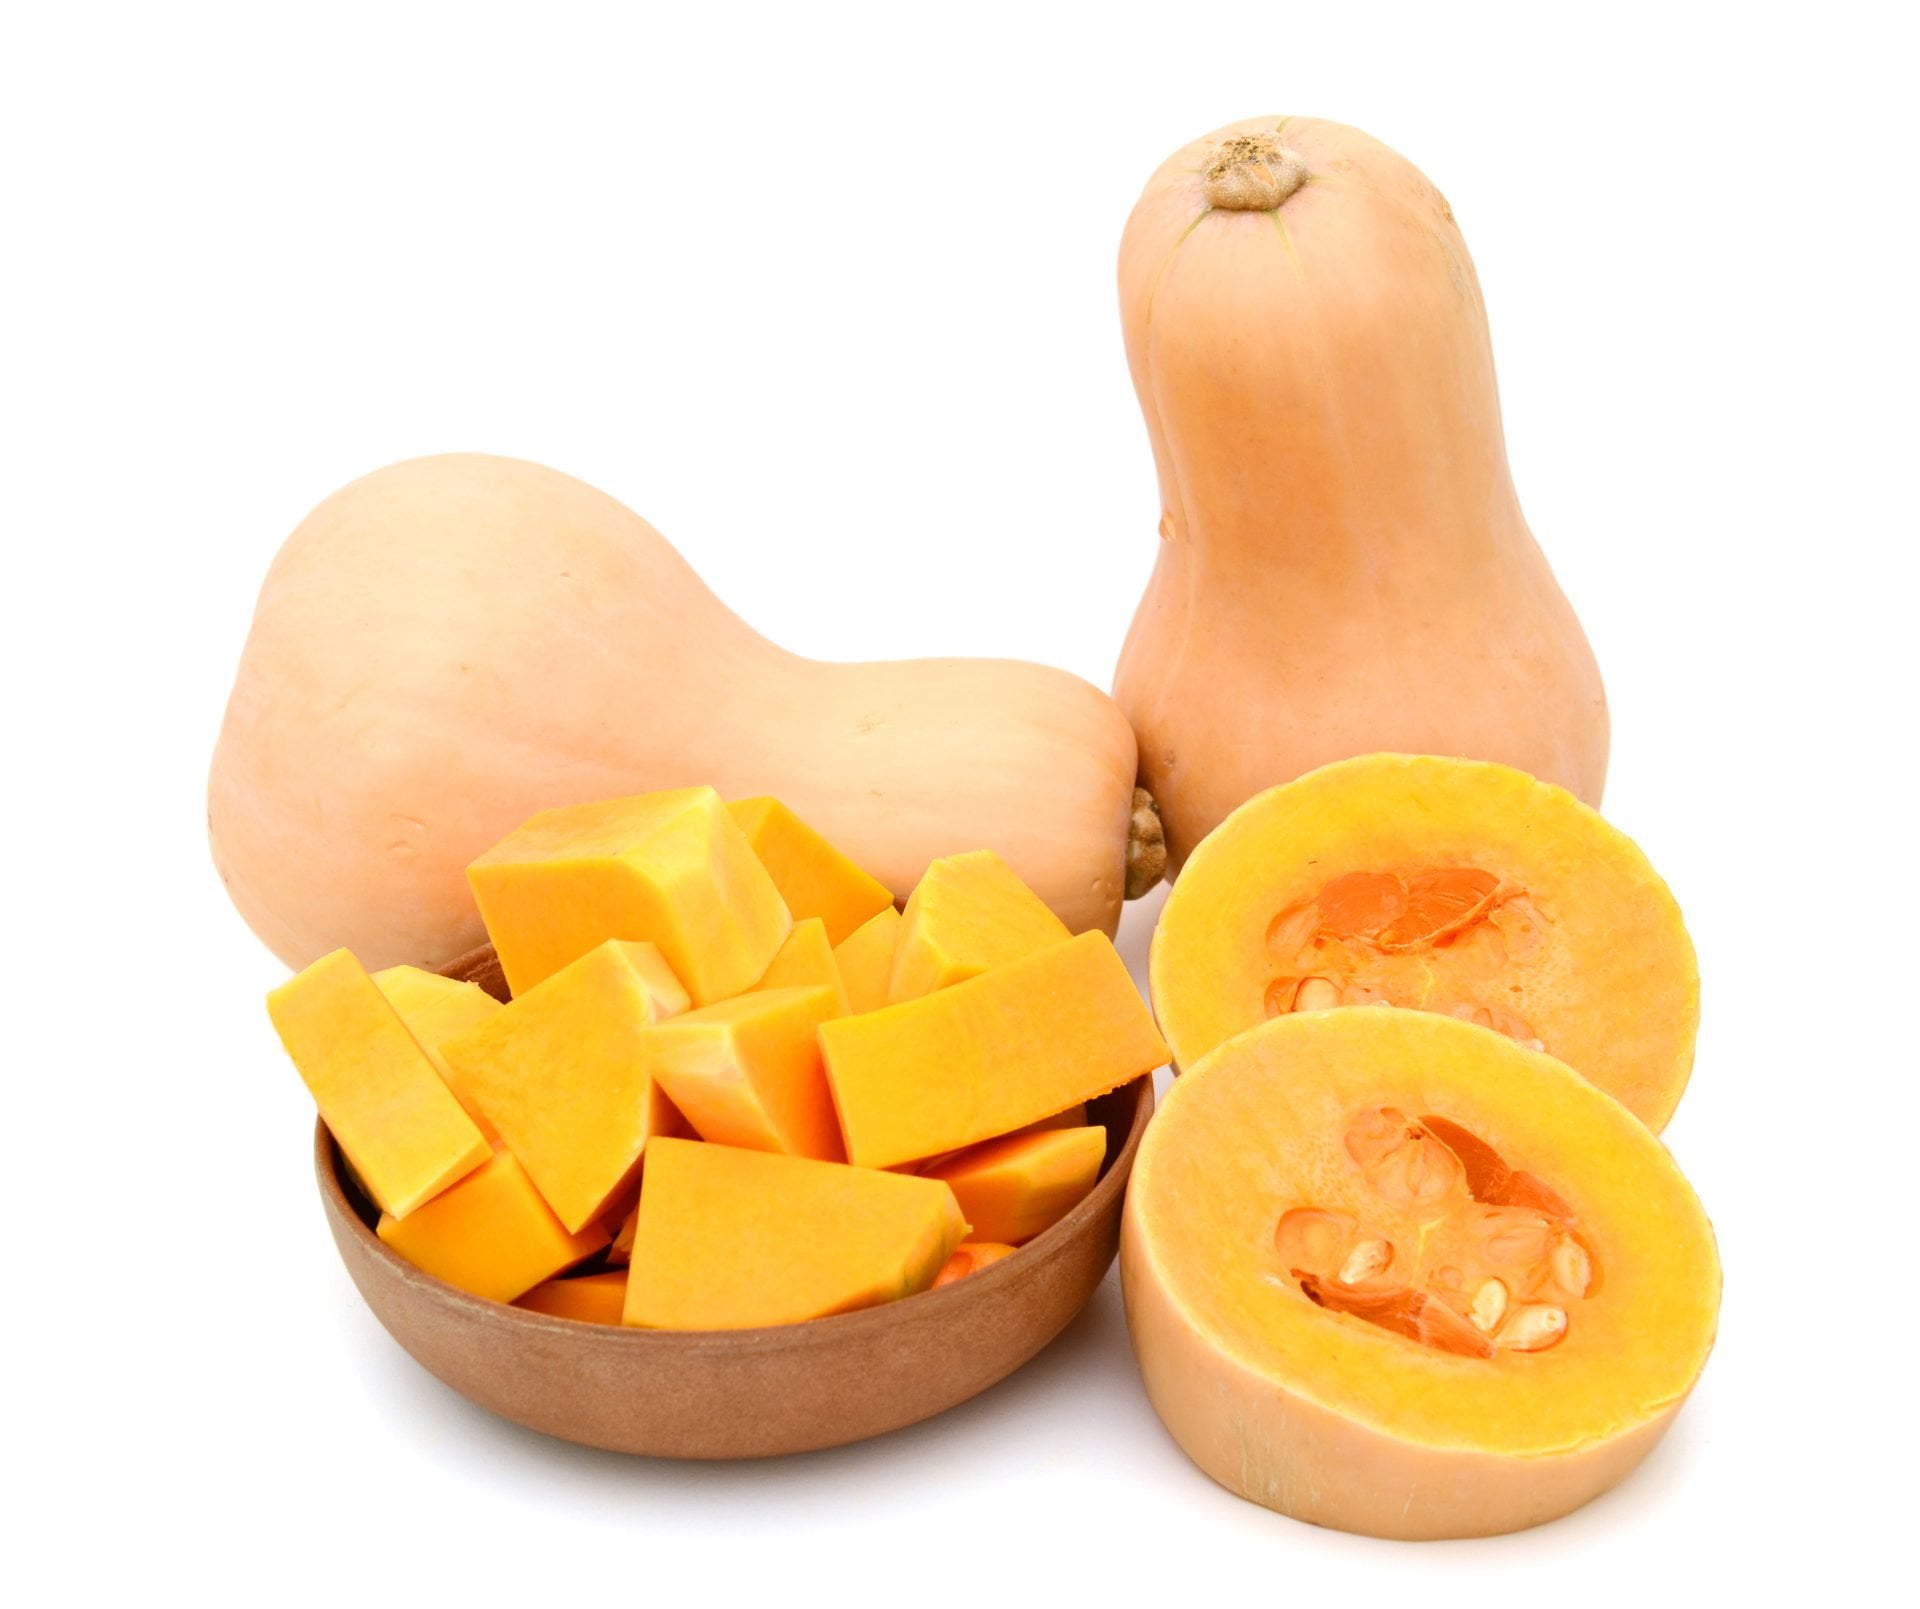
- 1/4 small winter squash I use butternut, roughly chopped, ~1/2 cup
- 1/2 tsp canola oil
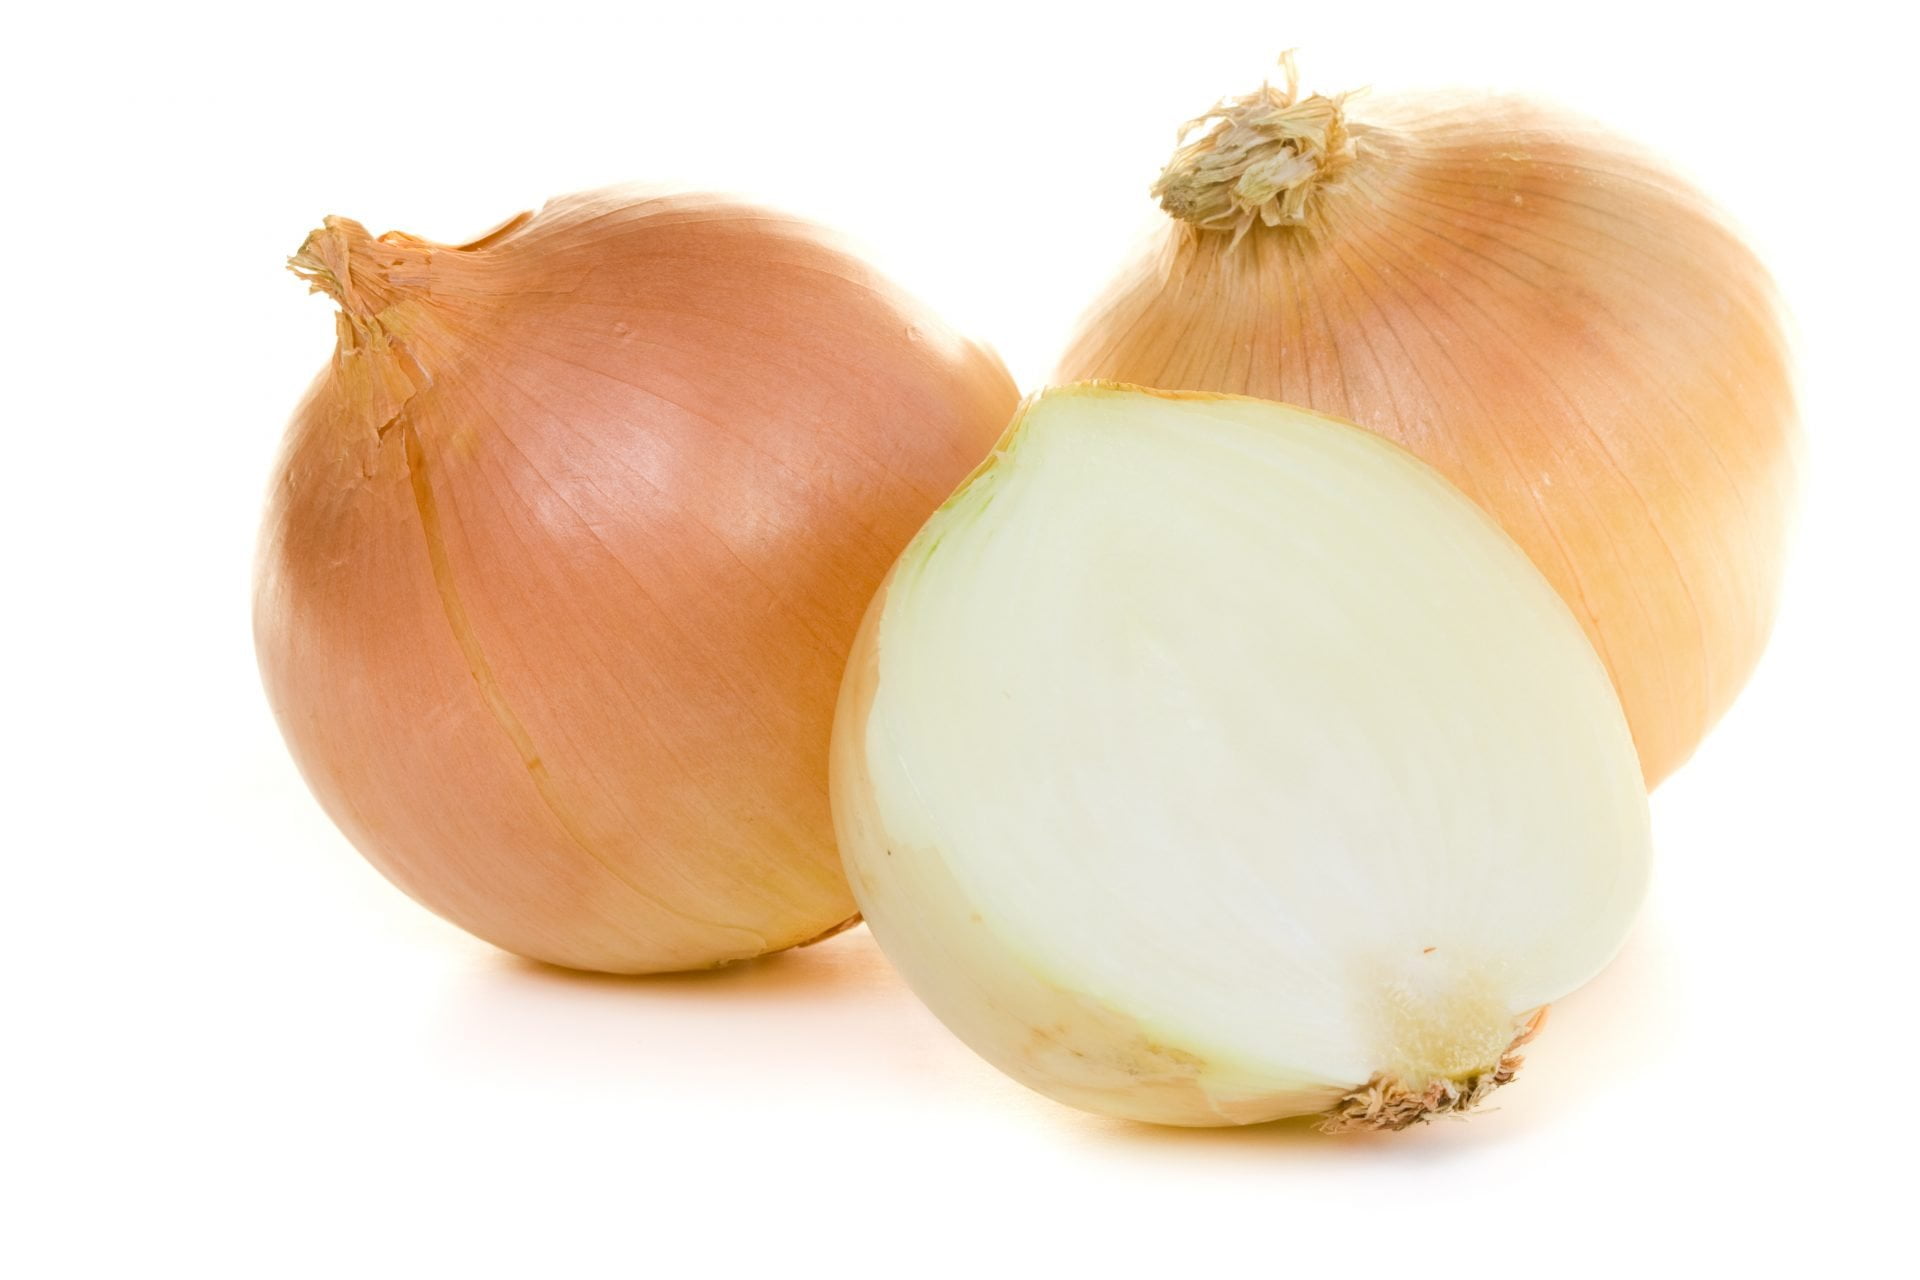
- 1 small white onion diced, ~3/4 cup
- 1/2 cup non-fat dry curd cottage cheese
- 1 tsp minced garlic
- 1 tsp dijon mustard
- 1/4 tsp smoked paprika
- 1/4 tsp cayenne optional
- salt & pepper to taste
Instructions
Initial Prep
- Place chopped squash in a large pot. Add enough water to cover fully and add a pinch of salt. Bring water to a rolling boil before reducing heat to medium-high. Let the squash cook for 25-30 minutes.
- Caramelize sliced onions**.
- Meanwhile, let’s make the dough. In a large bowl, mix the flour and salt. Add yogurt, eggs, and water. Mix slowly and carefully (to not overdevelop the gluten); the dough will be quite sticky. Cover dough with a tea towel or plastic wrap and set aside while you make the filling.
- After boiling for ~30 minutes, test the squash with a fork: if it goes through easily, it’s done. Drain and set aside to cool. Once onions are sufficiently caramelized, set these aside as well.
- In a medium bowl with deep sides, combine cottage cheese, garlic, mustard, and spices.
- Using a sharp chef knife, roughly peel the cooked squash. Mash with an electric mixer, potato masher, or large fork.
- Add to cottage cheese mixture along with caramelized onions. Stir well to fully combine.
- Once the filling is ready, the shaping begins! Feel free to gather some friends to join in the fun at this point.
Perogy Assembly
- Flour your counter top liberally (I use the soy flour for this). Split the dough in half. Keep one half covered and place the other half on the floured surface. Use a rolling pin to flatten the dough about ¼” thick.
- Punch out twelve ~3.5” dough circles using a round cookie cutter, drinking glass, or (my personal favourite) a medium sized mason jar lid. Squish the scraps into the remaining covered half of dough.
- Drop about a 2/3 tablespoon of filling into the center of one circle of dough.
- Fold dough over the filling and press the edges to create a dumpling. The stickiness should ensure a tight seal.
- Lay the perogy on a floured surface and use a fork to squish the edges together. Repeat steps 10 & 11 until you run out of circles, then repeat steps 8-11 with remaining dough.
Final Cooking & Serving or Freezing
- Once you have all your perogies formed, boil a pot of water and add about 12 perogies. Let them cook until they rise to the top, about 1 minute. Pull out the boiled perogies with a spoon, then repeat with the remainder in the same pot of water.
- If you’re planning to freeze some of the perogies, let them cool down after boiling and then put them in freezer bags with the air squeezed out. I usually do 12 to a bag, but you can portion them out in whatever way suits you. They will keep for at least 6 months in the freezer.
- You can eat the perogies just boiled, but if you’re like me, you’ll prefer them fried afterwards. If you’re going this route, please note the additional oil used here is not included in the recipe or the above macro calculations.
- Add a tbsp of canola oil to a pan on medium-high heat, once oil is hot, fry up as many perogies as you want (six per person is plenty.) Flip them every few minutes until they’re browned on all sides***.
Notes