As I love to share with our clients, I find sushi to be one of the best meals to enjoy when eating out for several reasons. Highlights well worth mentioning include nutrient packed seaweed, buckwheat, and edamame are common offerings at this type of eatery, and I love that many options are available to adjust your intake to fit your individual intake targets (sashimi or a side of rice anyone?). But prepare sushi at home? Why not!
Sushi is actually really fun to make in your own kitchen (honest!) and is an ideal summer eat, as it can be quite light (unlike, say, a macho barbequed burger with mayo and cheese). And because sushi typically requires minimal stove top cookery, it is a fantastic option to keep your place nice and cool on those warm Summer days and nights.
This particular sushi recipe is perfect for those looking to achieve an optimal ratio of fibre to carbohydrate, as it passes on the sushi rice and utilizes versatile cauliflower “rice” in its place. Not only does this swap make the dish light on carbs but high in fibre, it’s a great way to squeeze more servings of vegetables into your day. And in the world of vegetables, the brassica family (which also includes broccoli, kale, bok choy, and Brussels sprouts, among others) is true royalty. In fact, from the point of view of nutritional benefits and potential cancer-fighting ability, this group of veggies is up there with the most important in the world. With that said, I encourage you to find interesting ways to consume this superfood (and its nutritious family members) often – cauliflower “rice” just being one of the possibilities.
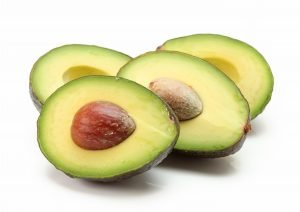
What is sushi without a little avocado? Not only is this veggie-like-fruit deliciously satisfying, I love to eat avocado regularly to help achieve my fat and fibre intake goals through nourishing means. This glorious, high unsaturated fat food also hosts an incredible amount of beneficial nutrients (including potassium, folate, and vitamin A) and is really beneficial to your hair, skin, and nail health. Amazing! And to further boost those healthy fats and plant based proteins, I opted to include a little sesame seeds in this unique recipe. Aside from adding a much welcome crunch to this eat, this nutty tasting little superfood is a rich source of essential minerals and contributes a significant amount of calcium, fibre, and protein to the dish. In fact, calorie for calorie, sesame seeds provide more protein than any other nut or seed!
So why use caramelized onion you ask? Well the flavour and texture provided by this addition is next to none! Specifically, caramelization is a non-enzymatic browning reaction of sugar (naturally occurring sugar in this case) that improves appearance and flavour. When onions are caramelized, in particular, a sweet yet hearty delicacy results which pairs perfectly with the other ingredients in this dish.
Highlights of making this recipe:
- This adventurous eat is ready in under one hour to wow last minute guests (that’s about the same amount of time it would take for ordered sushi to be delivered, and this option is much less expensive!).
- With ~3 servings of produce per roll, including cruciferous veggies and green and orange fruit (yes, avocado is technically a fruit), this recipe is a delicious option for getting your fruit and veggies in.
- As previously mentioned, this recipe involves minimal cooking = no toasty hot kitchens. This often over-looked aspect of recipes is a key suitability factor on those warm Summer nights.
I recommend coming at this recipe with mis en place (this is a French term for having all your ingredients measured, cut, peeled, sliced, grated, etc. before you start cooking) to assemble this eat quickly and effortlessly. Now let’s get cooking, so you can enjoy some finger food at its finest on a sunny warm day (or at least with memories of one dancing in your head).
Macros per Roll
Calories: 179
Protein: 13 g
Fat: 8 g
Carbohydrates: 18 g
Sugar: 8 g
Fibre: 6 g
Cauliflower Rice Sushi
Ingredients
Cauliflower “Rice”
- 1 head cauliflower small-medium (~800 grams), washed and trimmed
- 2 second spritz Olive Oil Cooking Spray
- 1/4 tsp fine sea salt
- 1/8 tsp Stevia
Caramelized Onion
- 2 second spritz Olive Oil Cooking Spray
- 2/3 cup yellow onion diced
Salmon Fillling
- 1 can salmon 213 gram can (drained)
- 1 tbsp mayonnaise half fat
Sushi Roll
- 6 sheets roasted seaweed (nori)
- 1 avocado large, sliced into strips
- 1 mango large, sliced into strips
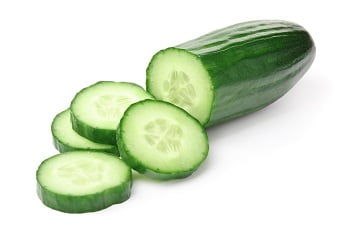
- 1/3 cucumber large, sliced into strips
- 6 tsp sesame seeds toasted
Dip
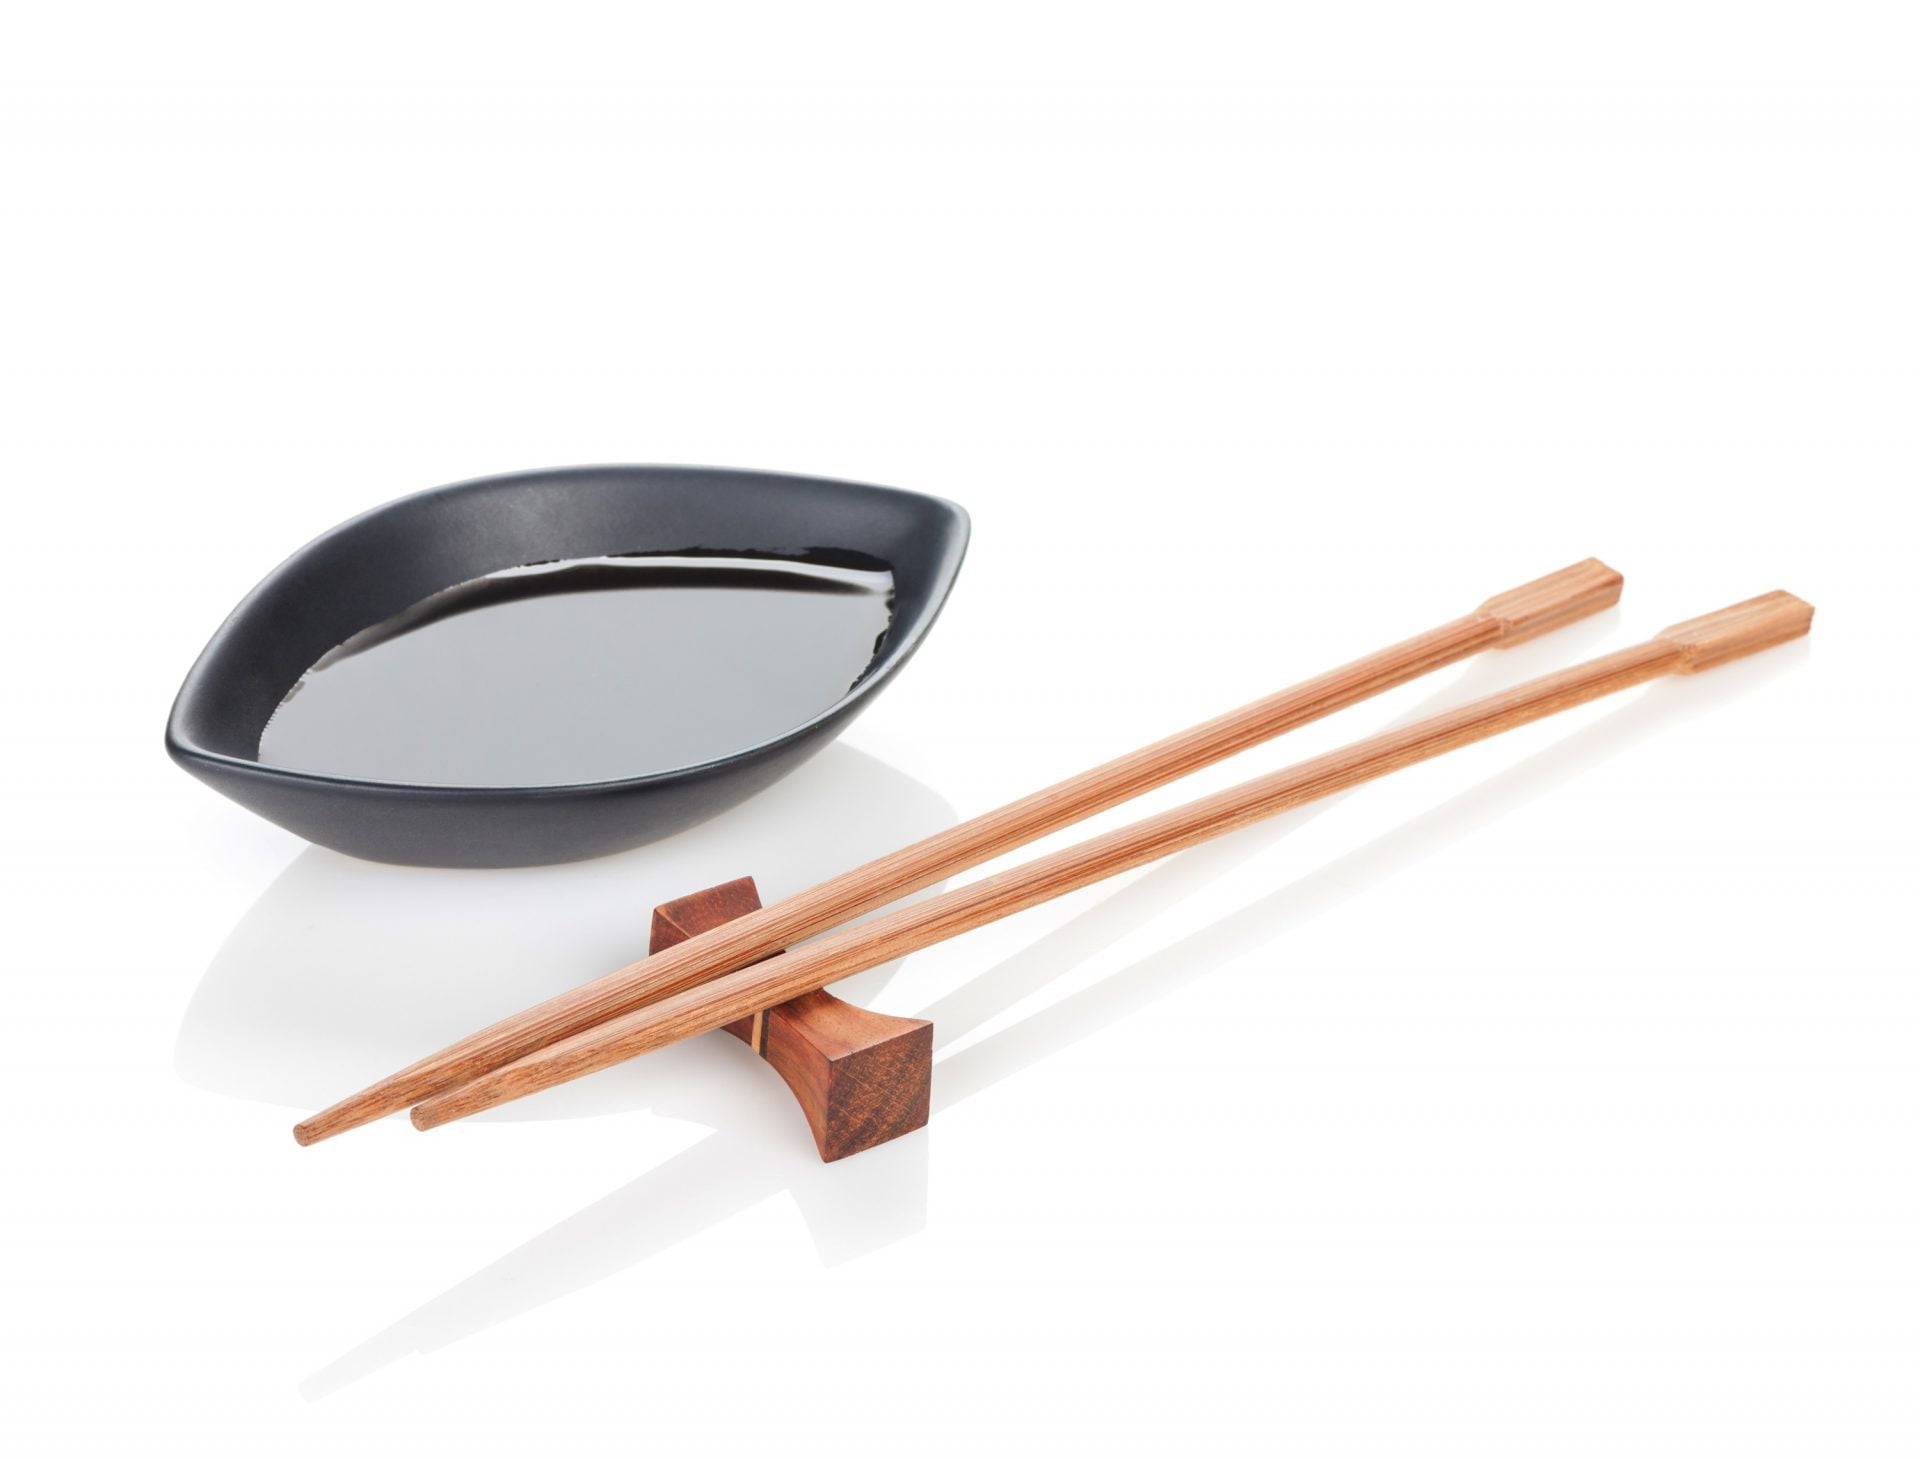
- 2 tbsp gluten free soy sauce
Instructions
Set-up
- Immerse a sharp, serrated knife in a jug of ice water to cool. Ensure entire blade is in water.
- Set out avocado, mango, & cucumber slices and toasted sesame seeds in preparation for sushi roll assembly.
Cauliflower “Rice”
- Fit food processor with grater blade. Break cauliflower into appropriate size chunks to fit in food processor opening.
- Place cauliflower in a food processor and blitz into small pieces.
- Transfer the cauliflower rice to colander fitter with a large paper towel or absorbent dish towel and squeeze/press to remove excess water.
- Heat a non-stick pan over medium heat; lightly spritz with olive oil spray. Add cauliflower rice, salt, and stevia.
- Cook, uncovered until heated through, 3 to 5 minutes. Transfer to a medium bowl and set aside to cool.
Caramelized Onion
- Using the same non-stick pan as above (which should already be heated), add a light coating of olive oil spray. Add onion and cover. Cook for ~3 minutes.
- Remove lid to stir onions and add 1/3-1/2 cup of water. Stir again and cook, uncovered, for 4 to 5 minutes more until water dissolves and onions have began to caramelize. Set aside to cool.
Salmon Filing
- In a large mug or small bowl, mix salmon with mayonnaise. Set aside.
Sushi Roll
- Place one sheet of seaweed on a bamboo mat (a thick tea towel can also be used if you do not have one). Cover 3/4 of the sheet of seaweed with a 2/3 cup of prepared “rice” (leaving ~1” at one end bare). Spread into an even layer with a rice paddle (or small spatula).
- Horizontally lay a line of salmon, avocado, caramelized onion, mango and cucumber approximately in the center of the “rice”. Sprinkle 1 tsp of sesame seeds over ingredients.
- Starting with the end of the seaweed that is fully covered in rice, roll it up tightly. When you near the bare end of the sushi, dab this lightly with soy sauce to create a seal. Finish rolling, using the sushi mat to shape a nice even roll.
- Repeat steps 1 through 3 until all rolls are formed.
- Slice each roll into 5 or 6 pieces with cooled knife. Remove debris and return knife to ice bath after slicing each roll.
- Enjoy with gluten free soy sauce.
Notes